How to Prepare Files for Large Format Printing

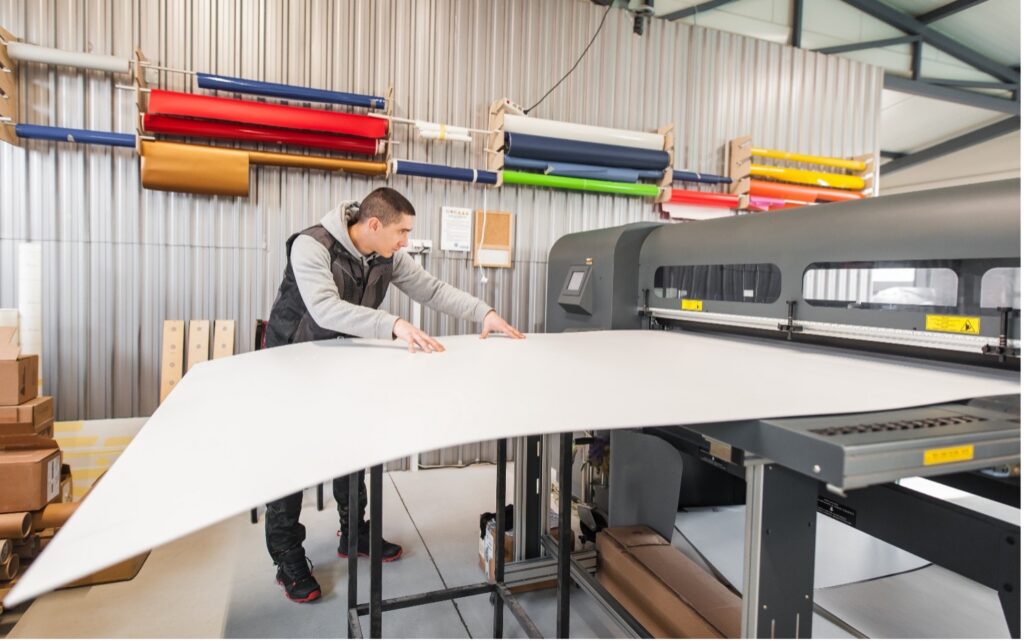
Large format printing is not simply about producing oversized graphics. Whether you are creating business signage, conference banners, or retail display graphics, large-format printing is a brand asset that shapes how customers experience your business in physical spaces.
Getting artwork print-ready for wide-format output takes more care than standard document printing. Submitting a print ready files that is not properly set up is one of the most common reasons jobs are delayed or return looking nothing like what was intended.
This guide covers every critical step so your business signage artwork goes to press the first time correctly
Resolution Requirements
Resolution is one of the most important parts of large format file setup. The standard 300 DPI rule used in small-format printing does not apply to wide-format output in the same way. Because business signage, display graphics, and event signage are viewed from a greater distance than a brochure or business card, the required resolution at final print size is lower. Working at 300 DPI at a large scale creates unnecessarily large files without improving quality.
Use this viewing distance guide as your benchmark:
- Viewed from 0.5 to 1 metre: 150–200 DPI suits detailed indoor displays and exhibition graphics.
- Viewed from 1 to 3 metres: 100 to 150 DPI works well for pull-up banners, mounted posters, and indoor event signage at standard viewing range.
- Viewed from 3 to 6 metres: 75 to 100 DPI suits vinyl banners, feather banners, and shopfront displays seen from across a street or car park.
- Viewed from beyond 6 metres: 50 to 75 DPI suits site hoardings, building wraps, and large outdoor event signage viewed from a significant distance.
File Formats Accepted
Submitting the wrong file format is one of the most avoidable causes of print delays.
- PDF: The preferred format for all large-format submissions. Use PDF/X-1a or PDF/X-4 to ensure colours, fonts, and image data are correctly embedded. Flatten transparency and confirm all fonts are embedded.
- AI (Adobe Illustrator): A widely accepted format for vector-based business signage artwork. Outline all fonts before saving, embed all linked images, and clearly note the final print dimensions or scale factor on submission.
- EPS: A reliable format for vector-based artwork that handles combinations of text, graphics, and vector elements well. Commonly used for logo-heavy signage artwork
- High-Resolution JPG and TIFF: Accepted for image-based artwork. TIFF produces better results as a lossless format that preserves image quality without compression. JPG files should be saved at the highest quality setting.
Avoid Word documents, PowerPoint files, and screen-captured images. These are not suitable for wide-format output and will require rework before production can begin.
Learn more about large format printing applications and what to expect from the file submission process.
Bleed and Safe Zones
Bleed is the area of your artwork that extends beyond the intended trim or finish line. It ensures that when a print is cut or mounted, no unprinted white border appears at the edges.
For most large-format applications, a minimum bleed of 5mm on all four sides is required. For larger jobs such as site hoardings and outdoor event signage, a larger bleed may apply. Confirm requirements with your Kwik Kopy centre for each specific job.
All key content, including logos, text, and primary graphic elements, must sit at least 5mm inside the trim line. Artwork placed too close to the edge risks being lost during finishing.
Colour Mode: CMYK vs RGB
Understanding CMYK vs RGB printing is essential for accurate colour reproduction. Always work in CMYK. This is non-negotiable for any print-ready file destined for wide-format output.
RGB is a screen-based colour mode used by monitors, cameras, and digital displays. When an RGB file is printed, the colours are automatically converted, and the conversion almost always produces a result that is noticeably different from what appeared on screen. Blues can shift toward purple, vibrant reds can dull, and greens can change entirely. For business signage and retail displays where colour accuracy directly affects brand perception, this matters.
Convert your file to CMYK before finalising your artwork. In Adobe Illustrator, go to File > Document Colour Mode and select CMYK. In Photoshop, go to Image > Mode and select CMYK Colour. Do this early in your design process, as visual adjustments may be needed once your artwork is viewed in CMYK.
Choosing the Right Material
Your material choice is just as important as your artwork for large format print file. Here is a practical breakdown of the most used substrates.
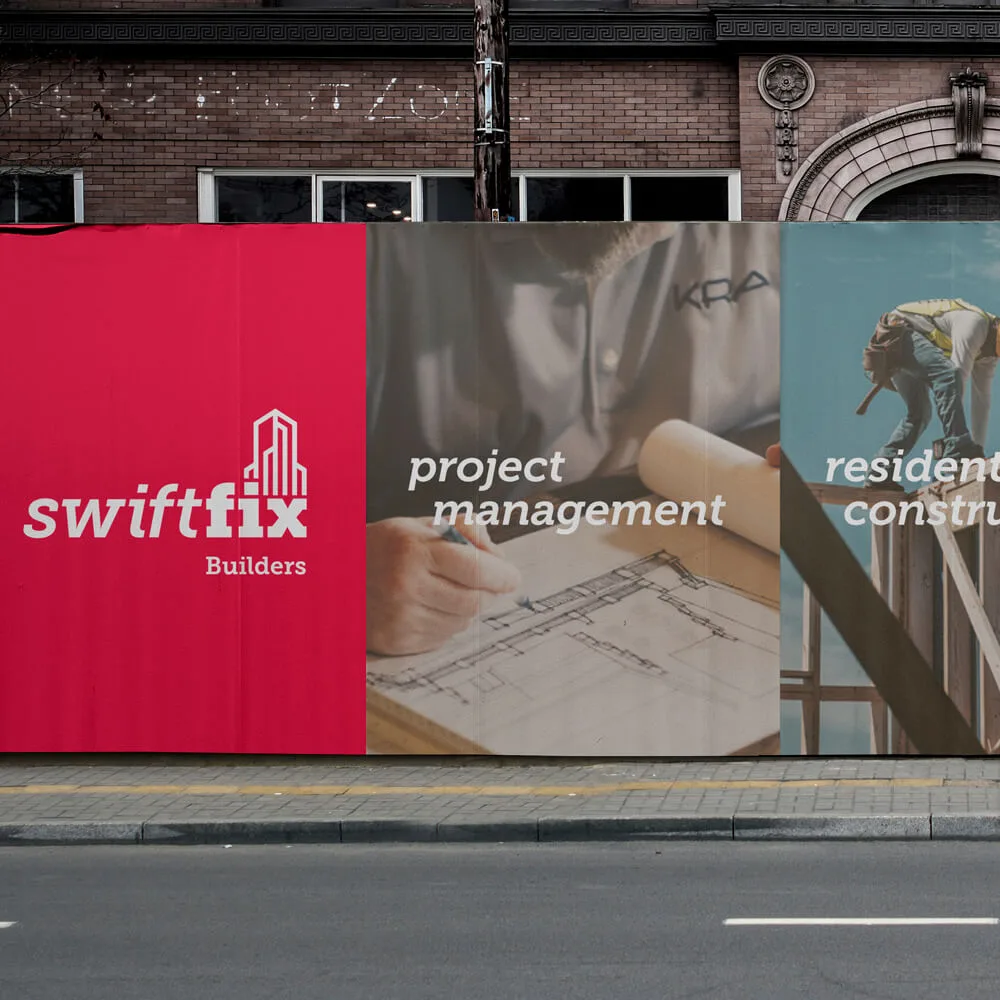
- Vinyl: The most widely used substrate in wide-format printing. Durable, self-adhesive, and weather-resistant, it suits wall graphics, window and door decals, and outdoor shopfront displays.
- Pros: versatile, durable, wide finish range.
- Cons: may require lamination for extended outdoor exposure.
- Corflute: A lightweight corrugated plastic suited to temporary signage, including A-frame inserts, directional event displays, and construction site notices.
- Pros: affordable, lightweight, short-term, weather resistant.
- Cons: not suited to permanent or long-term applications.
- Acrylic: A premium substrate suited to corporate and retail signage.
- Pros: durable, polished appearance, suited to permanent indoor installation.
- Cons: higher cost than temporary substrates.
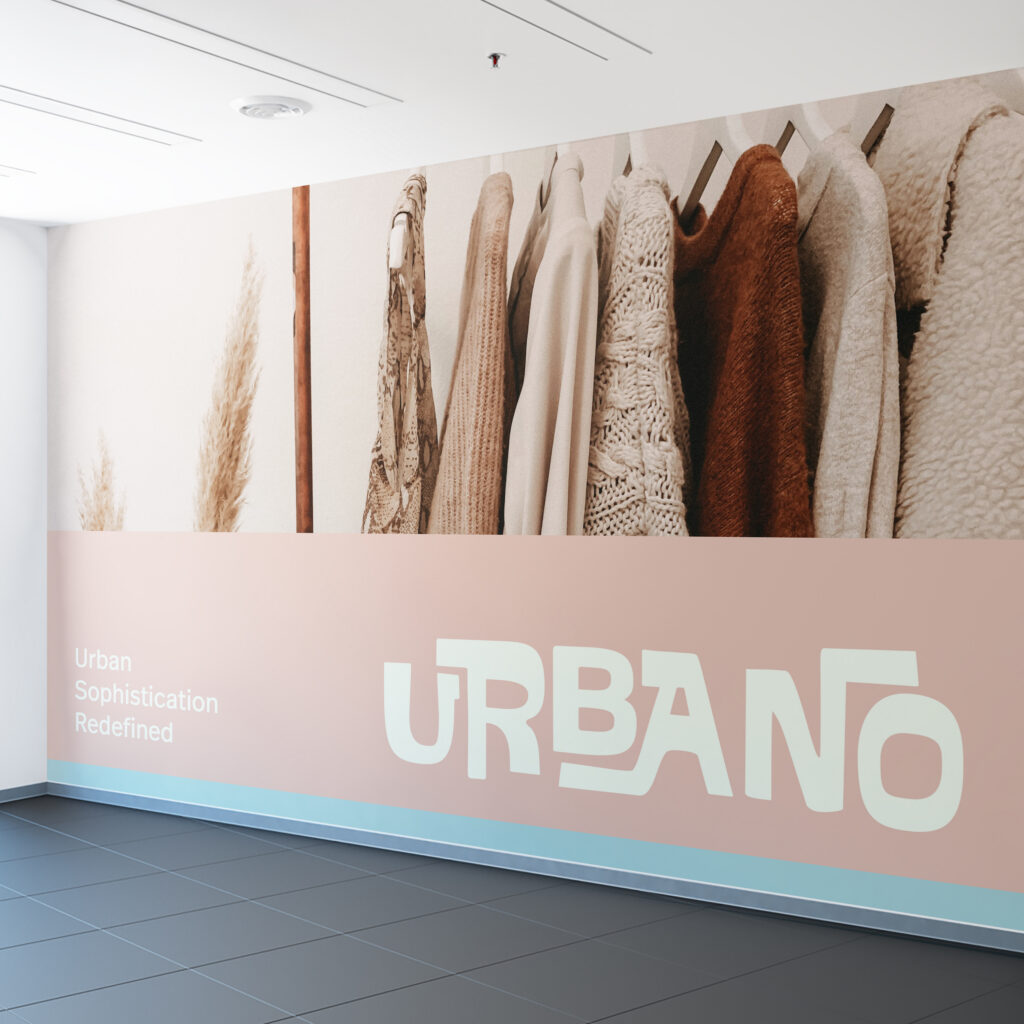
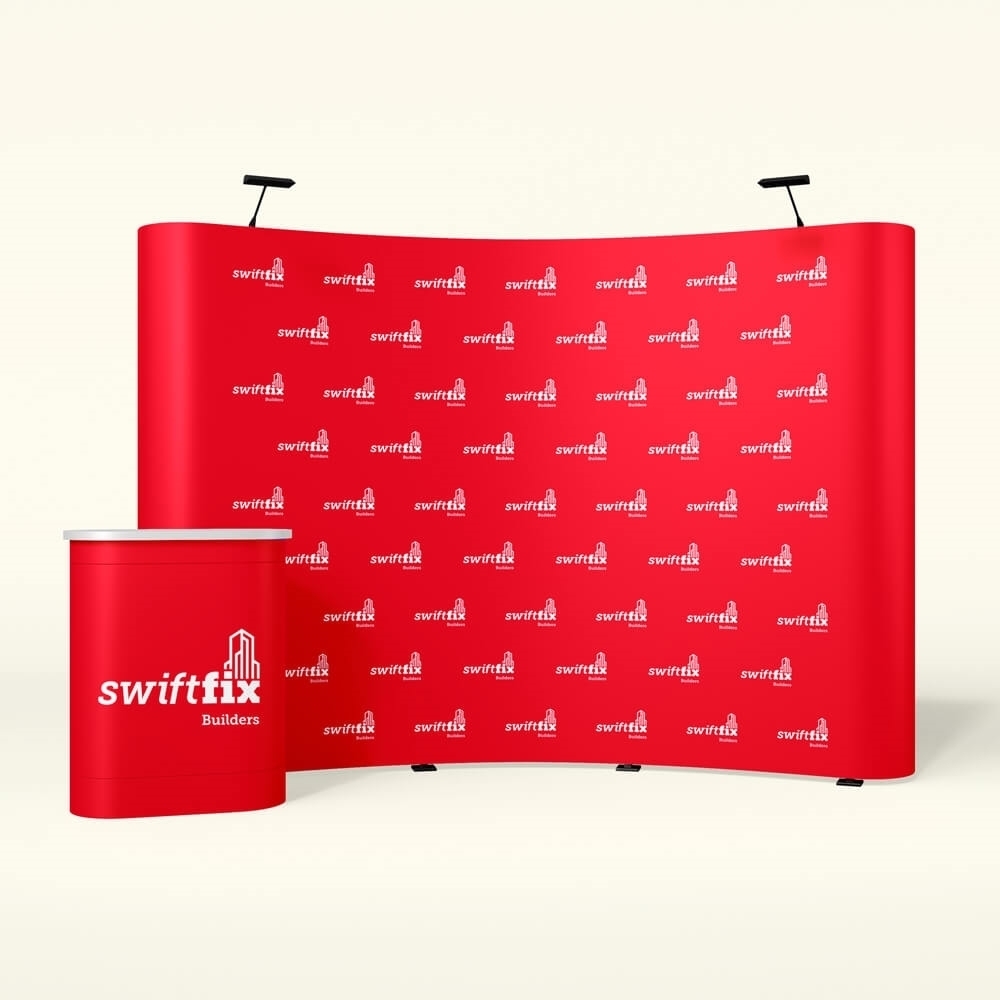
- Fabric: The preferred choice for conference signage backdrops, media walls, and trade show displays.
- Pros: lightweight, vibrant, and available in backlit options.
- Cons: requires framing or tensioning systems for installation.
- Foamcore: A smooth, lightweight board suited to indoor display graphics, presentation boards, and short-term point-of-sale displays.
- Pros: cost-effective, easy to mount and reposition.
- Cons: indoor use only, not suited to high-moisture or high-traffic environments.
View the full signage and display range to explore all available options.
Common File Mistakes and How to Fix Them
These are the errors that most frequently delay wide-format print jobs.
- Low-resolution images at final size: Always source high-resolution originals and confirm DPI suitability with your printer before placing images in your signage artwork.
- RGB colour mode: Convert to CMYK before finalising. Automatic conversion rarely produces accurate brand colours across retail displays and event signage graphics.
- Missing bleed: Add bleed from the start of your design process. Artwork submitted without bleed will be returned for correction or printed with an unwanted border along the finished edge.
- Fonts not outlined or embedded: Any font not outlined or embedded will be substituted on a different system, potentially altering your layout and brand presentation entirely.
- Wrong dimensions or missing scale factor: Always confirm final print dimensions with your Kwik Kopy centre and note the scale factor clearly on any reduced-scale artwork submissions.
- Linked rather than embedded images: Embed all placed images before saving your final file. Linked images appear as grey boxes when opened without the source files present.
Not sure whether your print ready files are set up correctly? Bring it in or send it through to your nearest Kwik Kopy centre before submitting for production. Our team reviews every file before it goes to press and will flag any issues before your job runs, keeping your business signage, event displays, and conference banners on schedule without reprints or delays.